Casanode: New dVPN Node Manager for Raspberry Pi Enters Public Testing
Sentinel's dVPN node network needs to cover as many countries across the globe as it possibly can... Simple, easily-concealed hardware nodes that are affordable for all economic strata are crucial for expanding the reach of dVPN.


The Casanode project aims to provide the simplest solution yet for the deployment of hardware dVPN Nodes on the Sentinel Network. These nodes allow their operators to sell the unused bandwidth from their home internet connection in exchange for Sentinel Coins ($DVPN) and other digital assets.
The Casanode project consists of two main components:
- An operating system (OS) that can be installed on single-board/nanocomputers such as a Raspberry Pi, providing the first publicly-available GUI option for dedicated hardware nodes on Sentinel.
- A mobile application that allows simple remote control of those dVPN Nodes once they're operational.
Sentinel's decentralized VPN (dVPN) node network needs to cover as many countries across the globe as it possibly can. Many of those countries are developing or subject to harsh internet censorship regimes. Simple, easily-concealed hardware nodes that are affordable for all economic strata are crucial for expanding the reach of dVPN.
Casanode is currently in the development phase, but public testing has now begun. The aim of this article is to provide any information that may be needed by volunteers to carry out tests and report any bugs they encounter.
If you're interested in testing Casanode, we recommend that you join the Telegram group that we've created to to dialogue with testers and other interested parties.
Part I: OS Installation
Casanode OS is an operating system that can be installed onto single-board computers, nanocomputers, and other simplistic computer hardware (such as the aforementioned Raspberry Pi). It enables you to set up a ready-to-use dVPN Node in just a few minutes.
🛠️ Hardware Requirements
The computer on which the OS is to be installed must meet the following requirements:
- Has at least 2 GB of system memory.
- Has a processor (CPU) with that supports 64-bit architecture.
- Has a Bluetooth antenna available.
- Has a wi-fi card, or a network card with an Ethernet port.
✅ Compatible Raspberry Pi Models
List of compatible Raspberry Pi models currently being tested:
- Raspberry Pi 3 Model B
- Raspberry Pi 3 Model B+
- Raspberry Pi 3 Model A+
- Raspberry Pi 4 Model B
- Raspberry Pi 400
- Raspberry Pi 5
To install Casanode OS:
- Download the OS image, or compile the OS from the GitHub repository.
- Install the OS image on an SD card using Raspberry Pi Imager.
- Start the device and allow it to finalize the installation and settings.
In the rest of this section, we'll provide some elaboration on these three steps.
OS Image
Casanode OS images are available for download from the GitHub repository:
 sentinelgrowthdao
During the community testing phase, we recommend that you consult that page regularly to ensure you have the latest version downloaded. If you chose to join the Telegram group for testers linked at the beginning of the article, notifications about updates will also be shared by the Casanode team there.
Installation on SD Card
To create the Casanode SD card, we'll need to use the Raspberry Pi Imager software, downloadable from their official website.
Once the software has been downloaded and installed, connect your SD card to your computer using a card reader and start the software.
Click on the first button to select the Raspberry Pi model for which you want to create the SD card. A list of compatible models is available in the dropdown menu in the previous section.
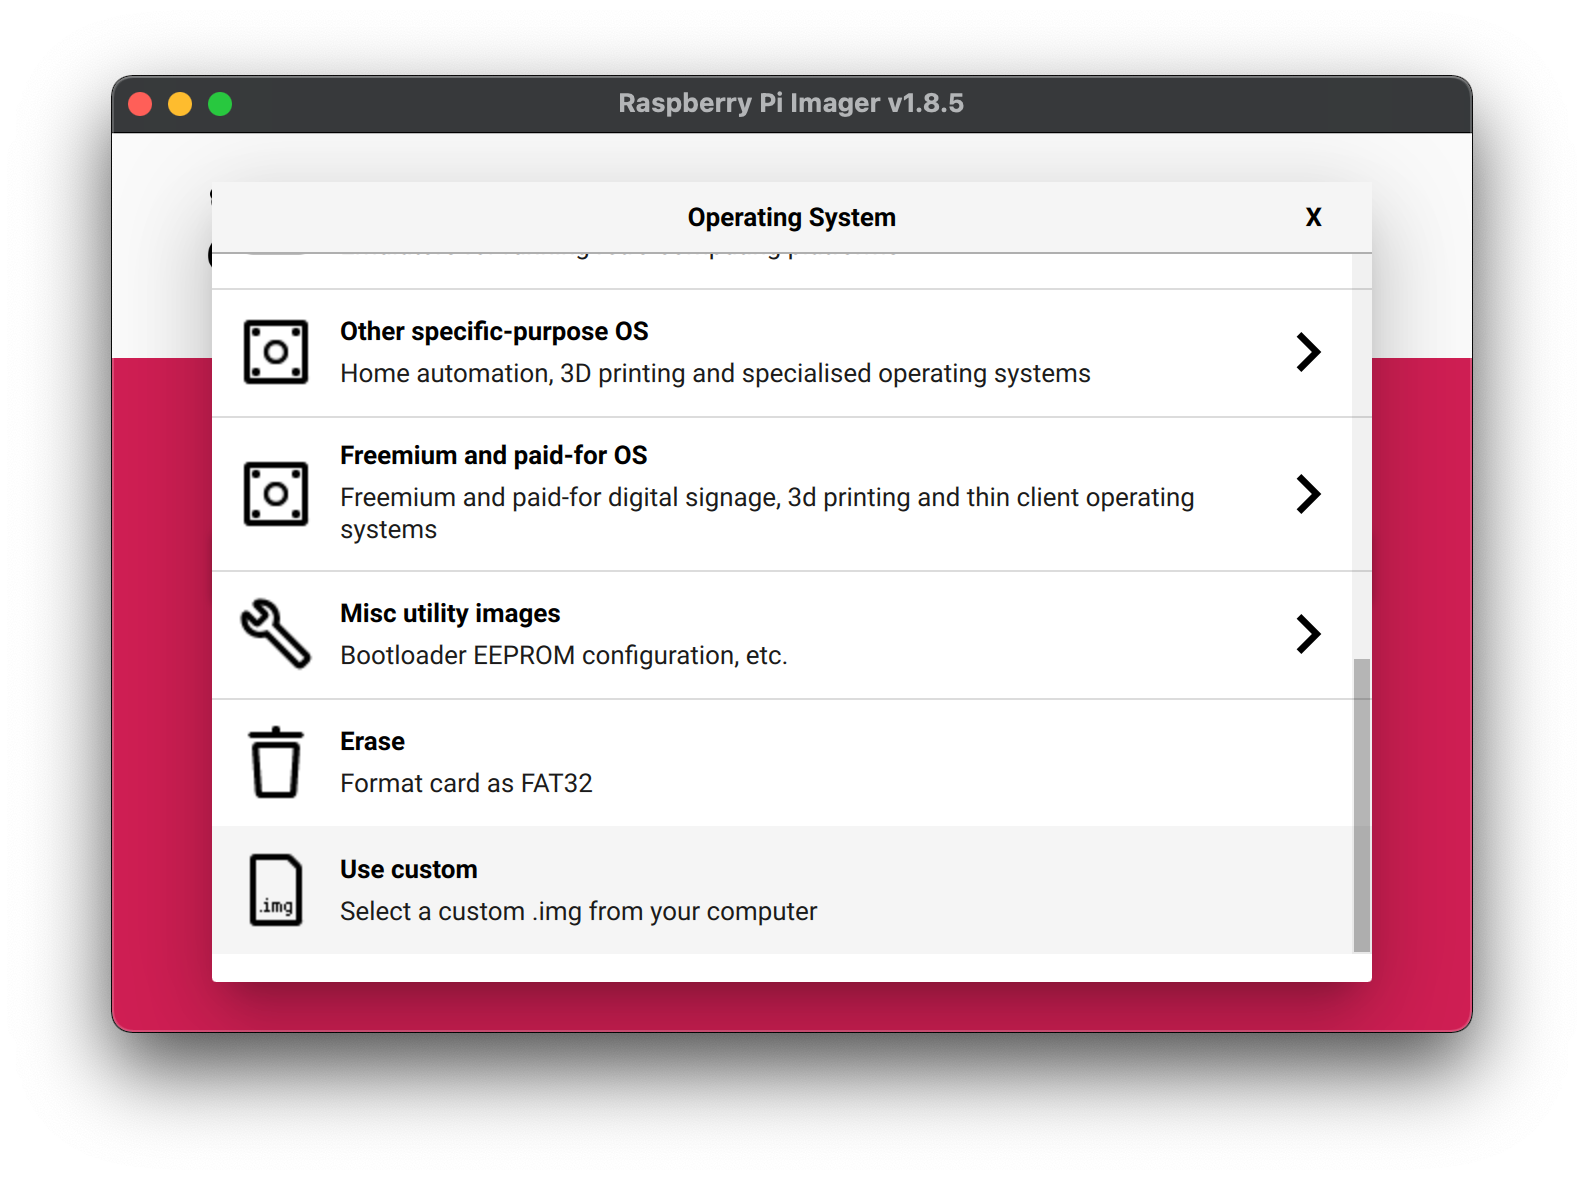
The second button lets you select the Casanode image. Scroll to the end of the list and select Use Custom. You will then be prompted to select the file on your computer.
Now use the last button to select your SD card, then click on Next to continue. A new menu will open, allowing you to customize several image parameters.
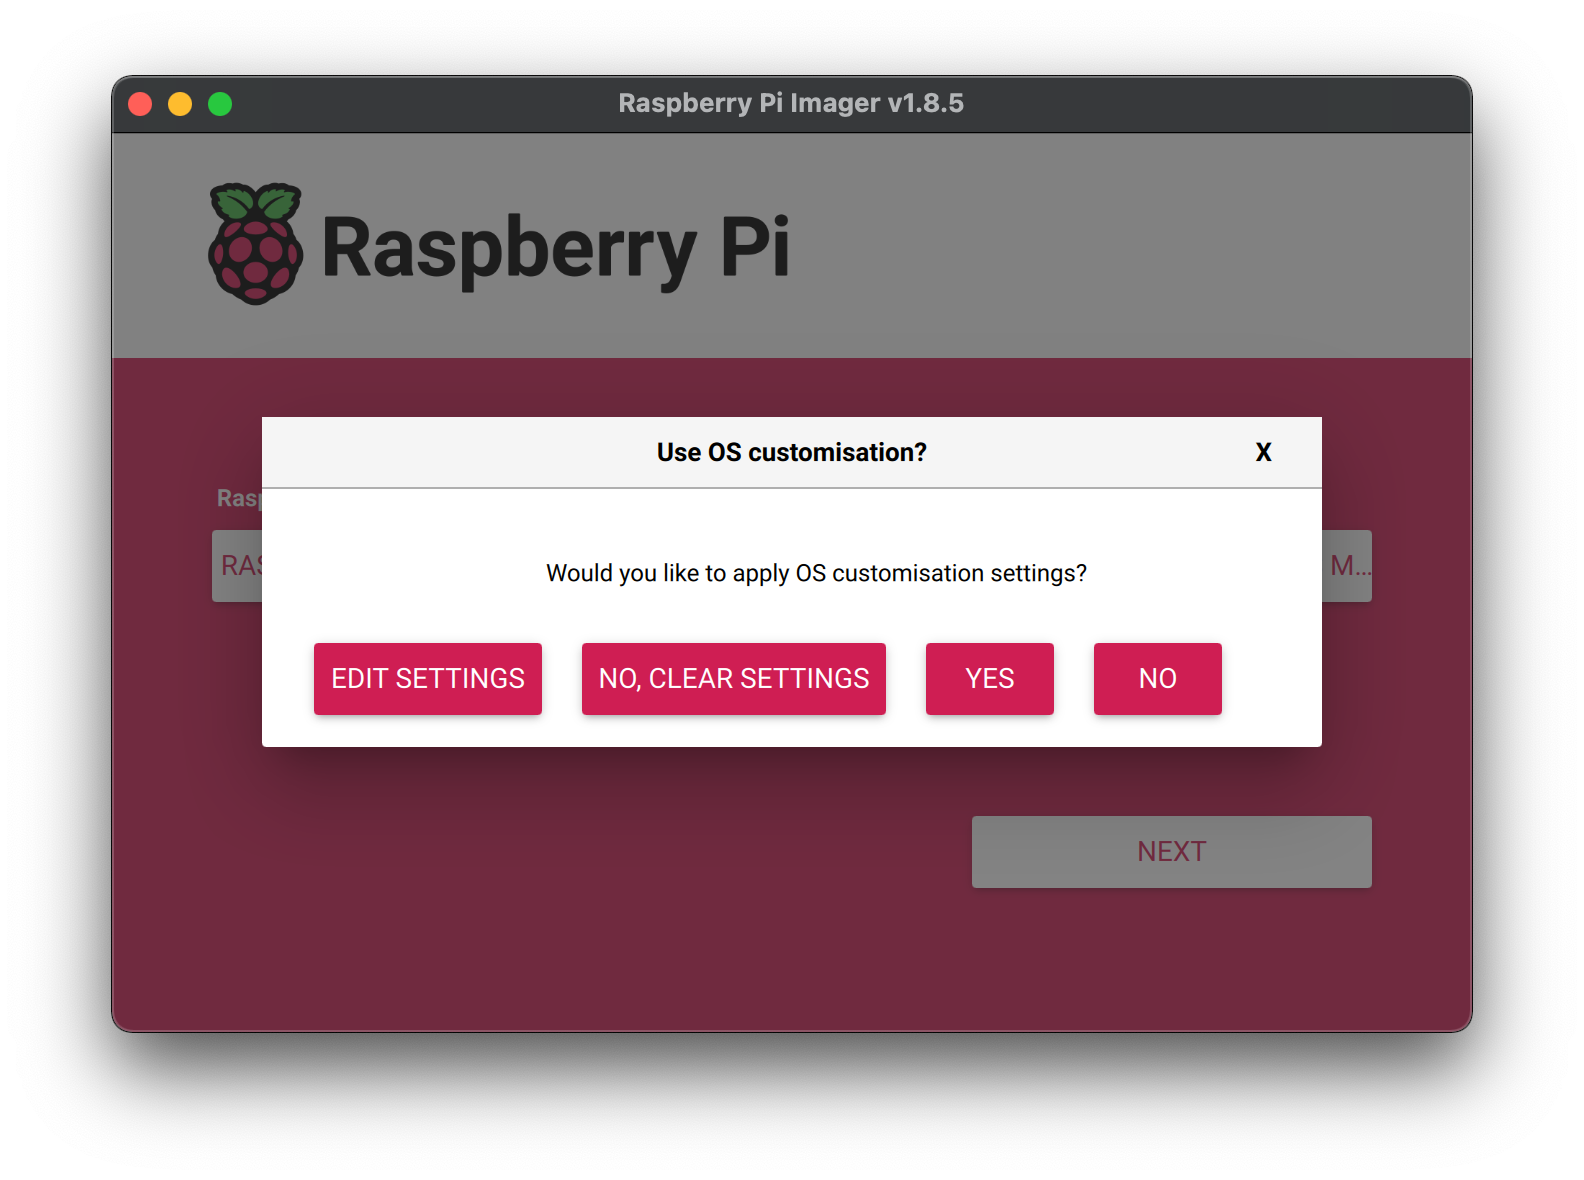
Click on the Edit Settings button to access a new settings menu.
In the General tab, check the following two boxes:
- Set hostname defines a host name for the device, thus avoiding the need to search for the IP address assigned within the local network.
- Set username and password defines a user name. In our case, the user will be
raspberry.
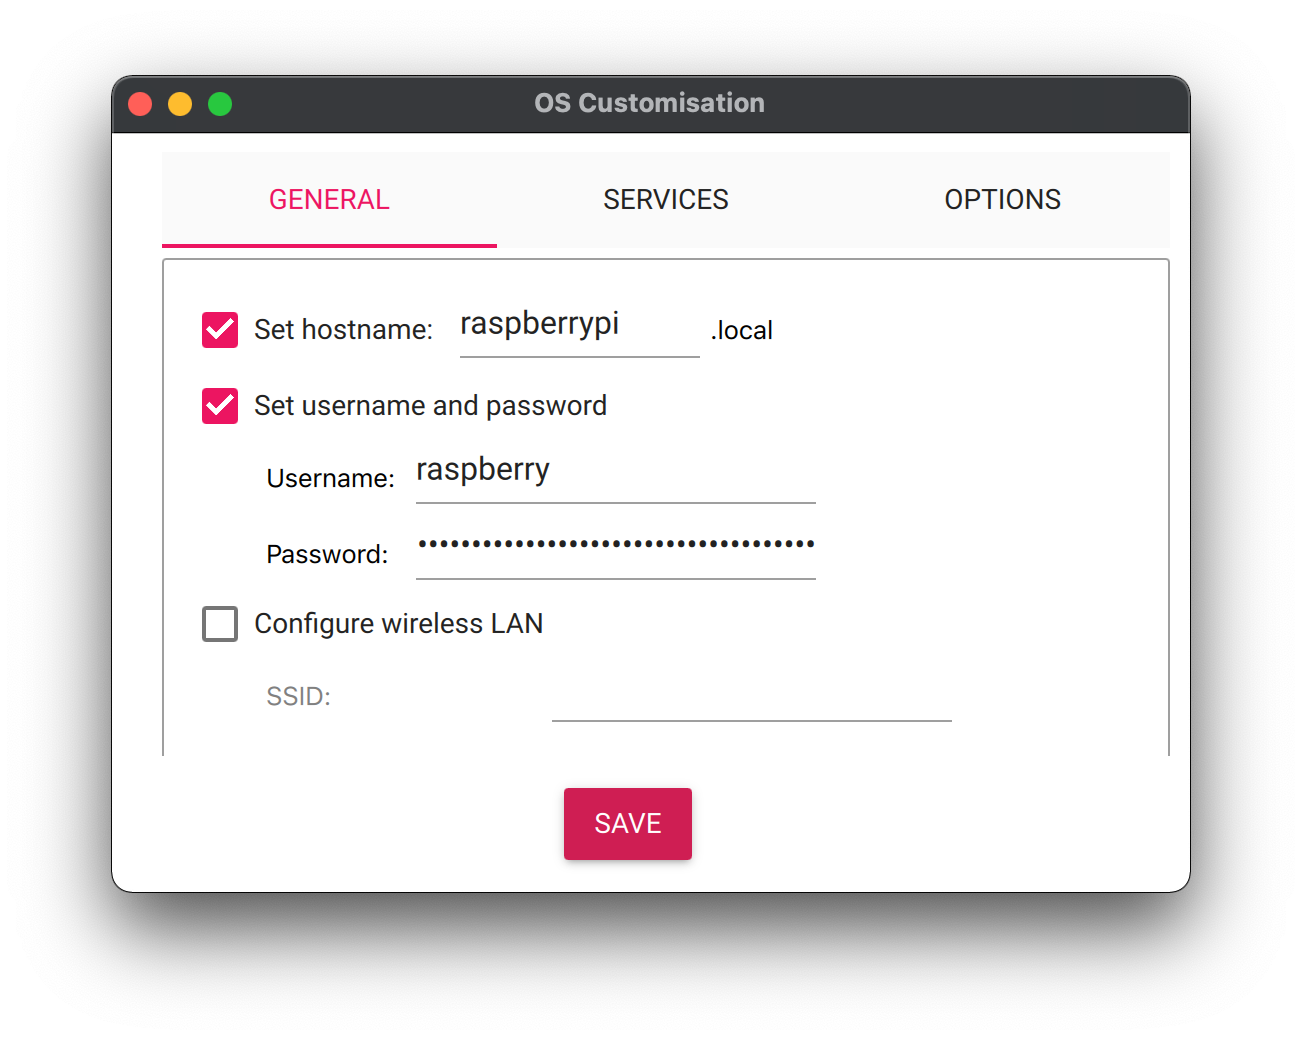
If you wish, you can configure an SSH (Secure Shell) key in the Services tab.
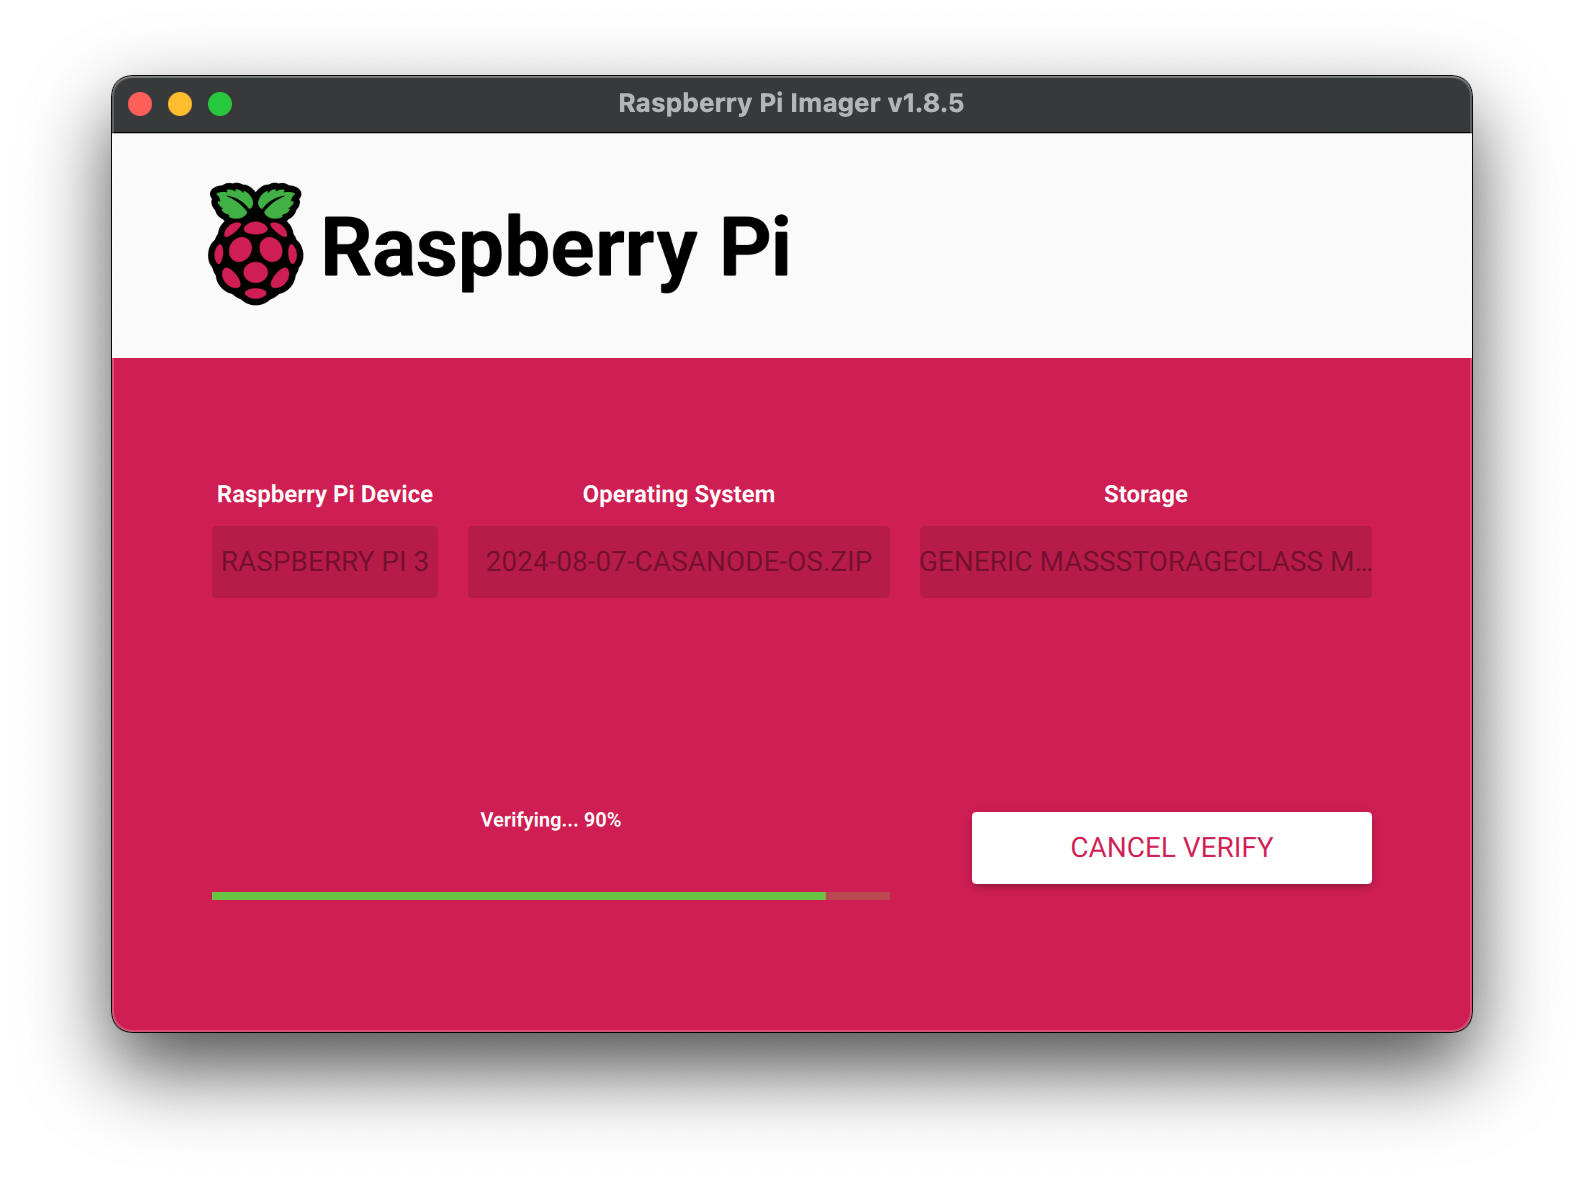
Finally, once all the parameters have been configured, you can validate the changes by clicking on Save, then launch SD card creation by clicking on Yes.
Wait while the files are copied until the success confirmation message appears.
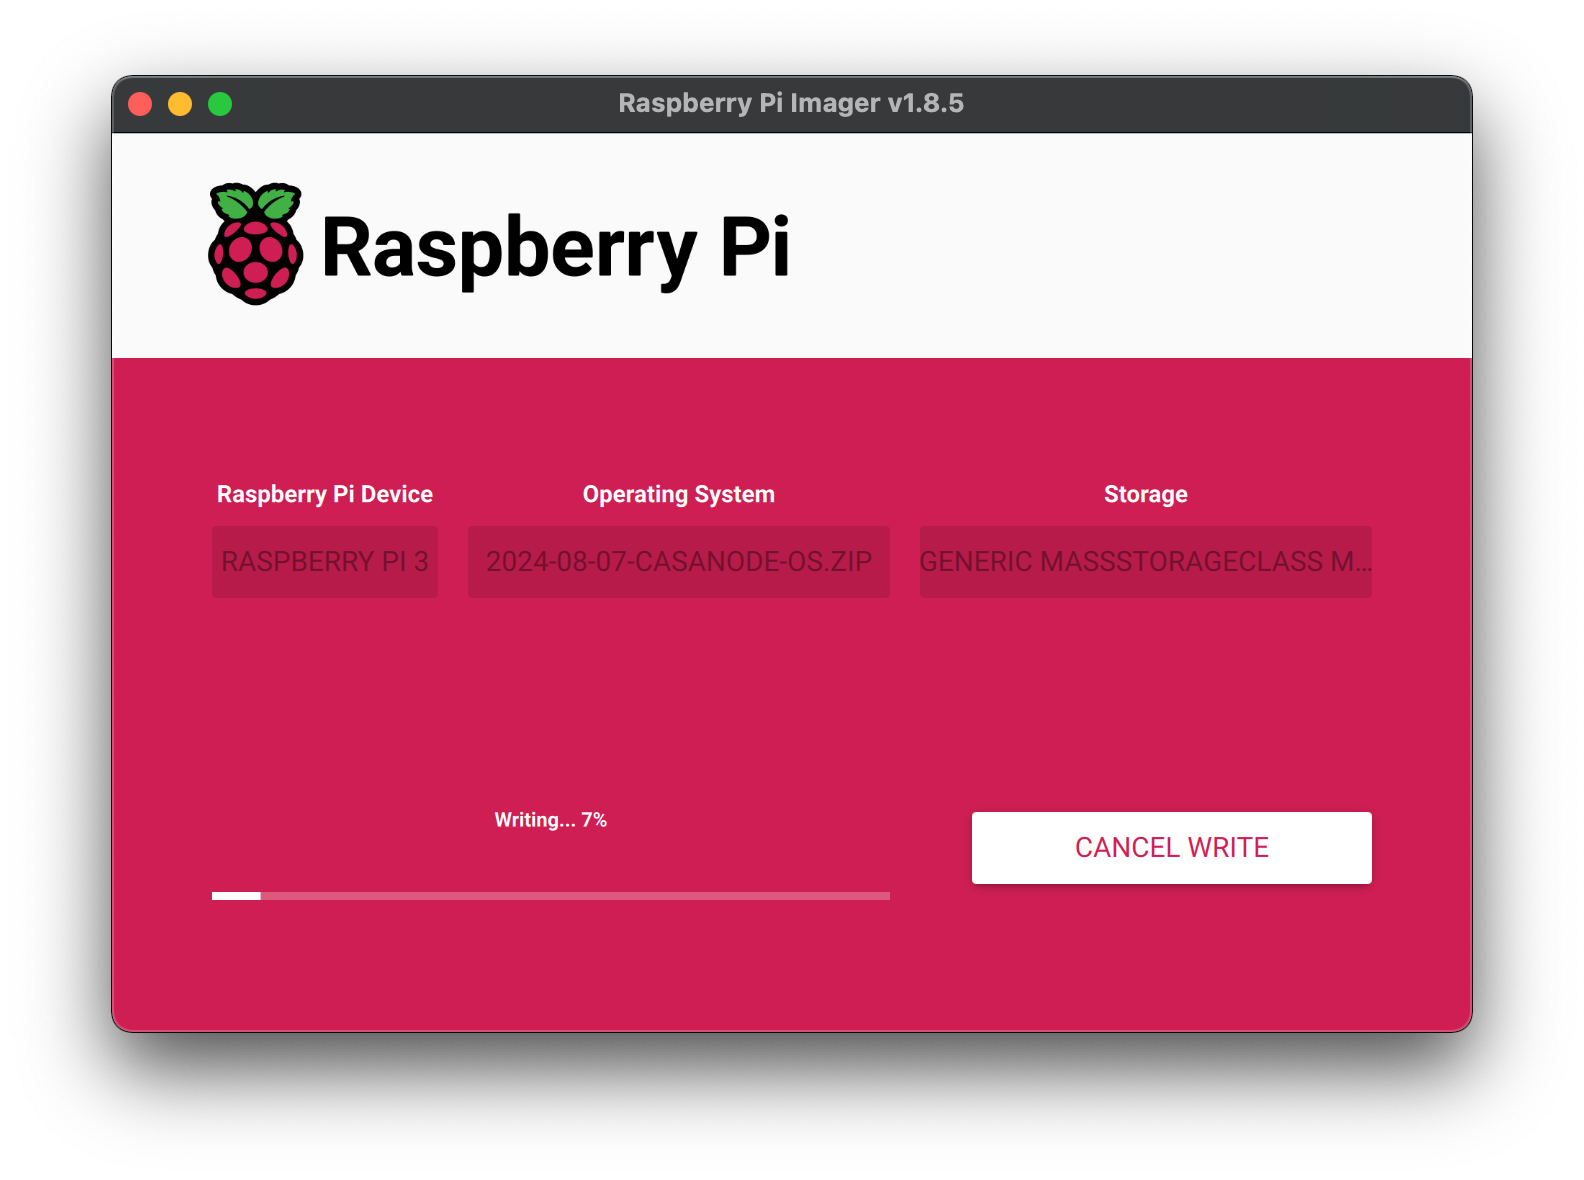
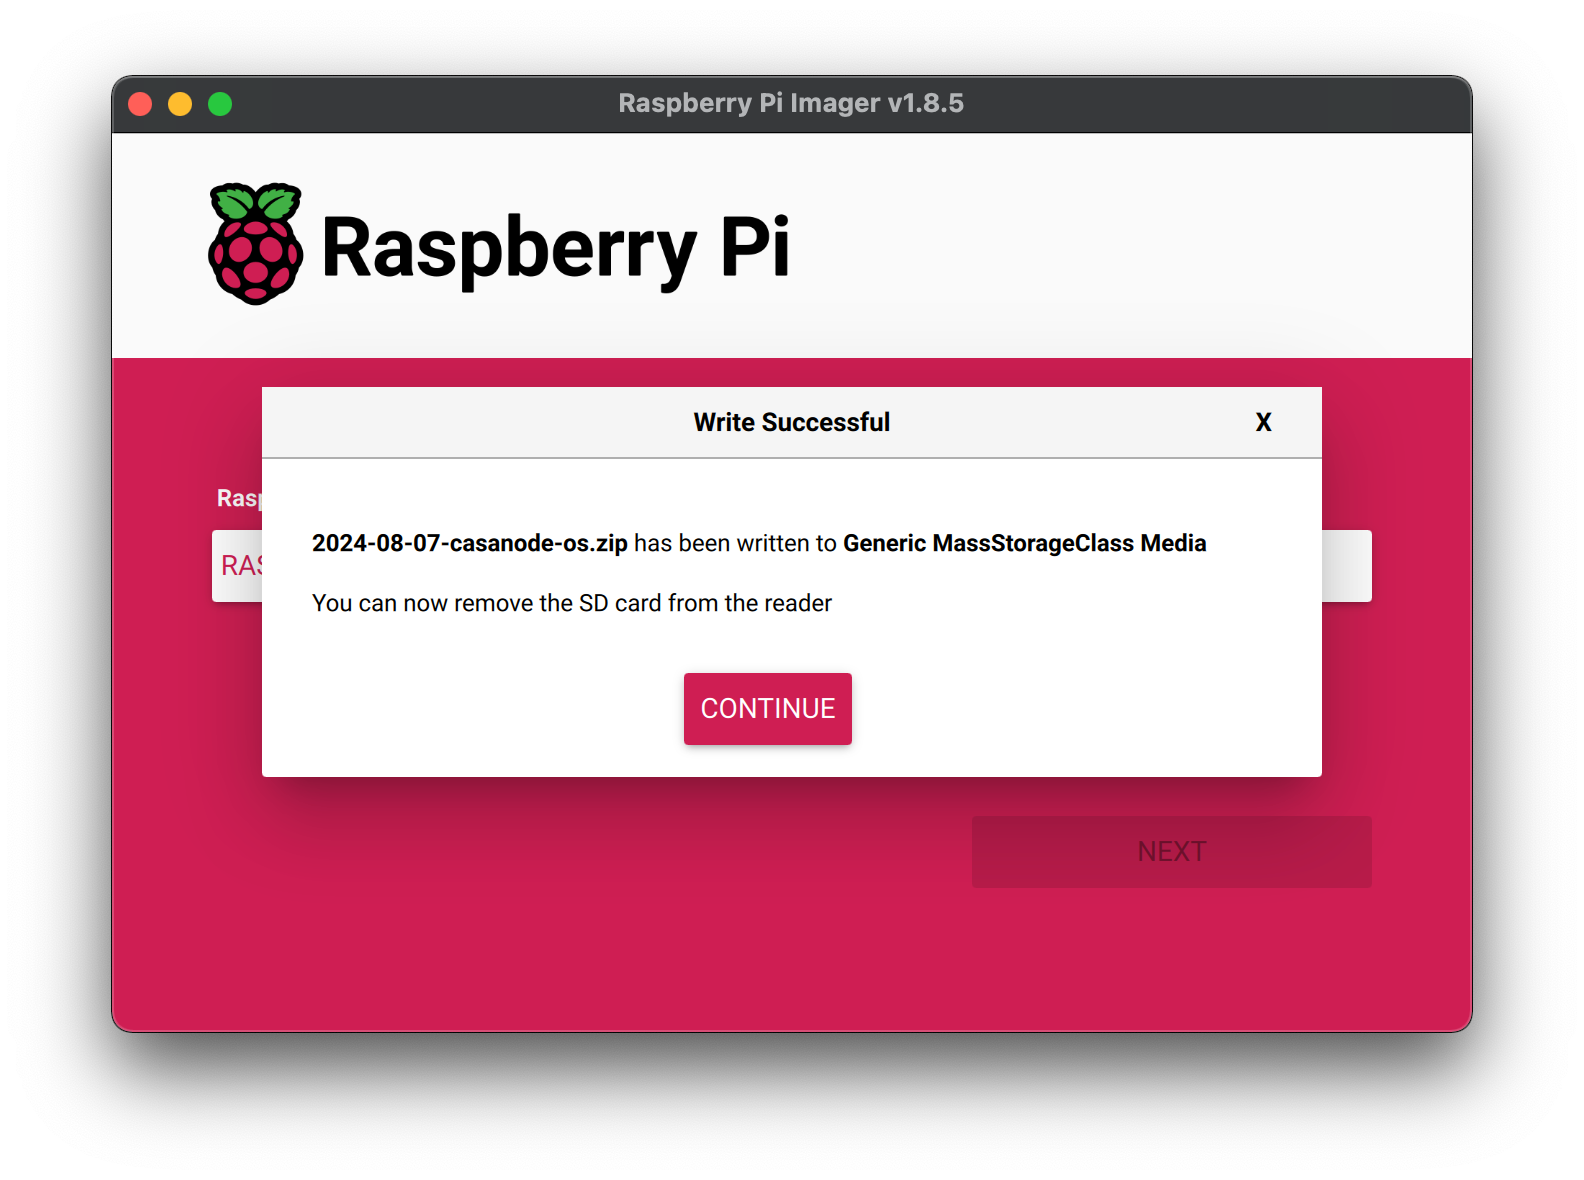
As indicated on the confirmation screen, you can unplug the SD card reader from your computer and then insert the SD card into your Raspberry Pi device.
All you have to do is switch it on and wait a few minutes for installation to finish. In the meantime, you can continue reading this article to install the mobile application on your phone.
Part II: Mobile Application
The Casanode mobile application allows you to control your Sentinel Node from your phone, sending commands via Bluetooth Low Energy (LE). You'll need to be physically close to the node for it to work.
sentinelgrowthdaoThe GitHub repository for Casanode's mobile application.
As with the OS, you can either download an already compiled version of the application as an APK file, or compile the application sources yourself. For instructions on the latter option, see the Optional Steps section later in this article.
Download Application
The Casanode mobile application can be downloaded directly from the Releases page on the GitHub repository, or via Telegram. The readme on the GitHub serves as another source for information about the application.
During this test phase, we recommend that you consult the releases page regularly to ensure you have the latest version installed.
Once Casanode exits its development phase and launches, the application will be made available for download on Google Play and Apple's App Store.
Connection to the Node
At this stage of the guide, you need to have a single-board or nanocomputer turned on, the OS installed on the SD card, and the mobile application installed on your Android phone.
Casanode uses the Bluetooth connection mentioned earlier to allow the mobile application to control the dVPN Node. For security reasons, this connection can only be accessed using a unique key that is randomly generated when the OS is first booted.
To facilitate the connection between the application and the node, we need to scan a connection QR code accessible from a browser.
QR Code Login
By opening a browser on your computer, you'll be able to access the QR code by entering the following address:
Note that instead of the IP address, you can enter the host name configured when the SD card was created: rasbperrypi.local. If the local network settings are correct, DNS resolution will be used to obtain the Raspberry Pi's IP address.
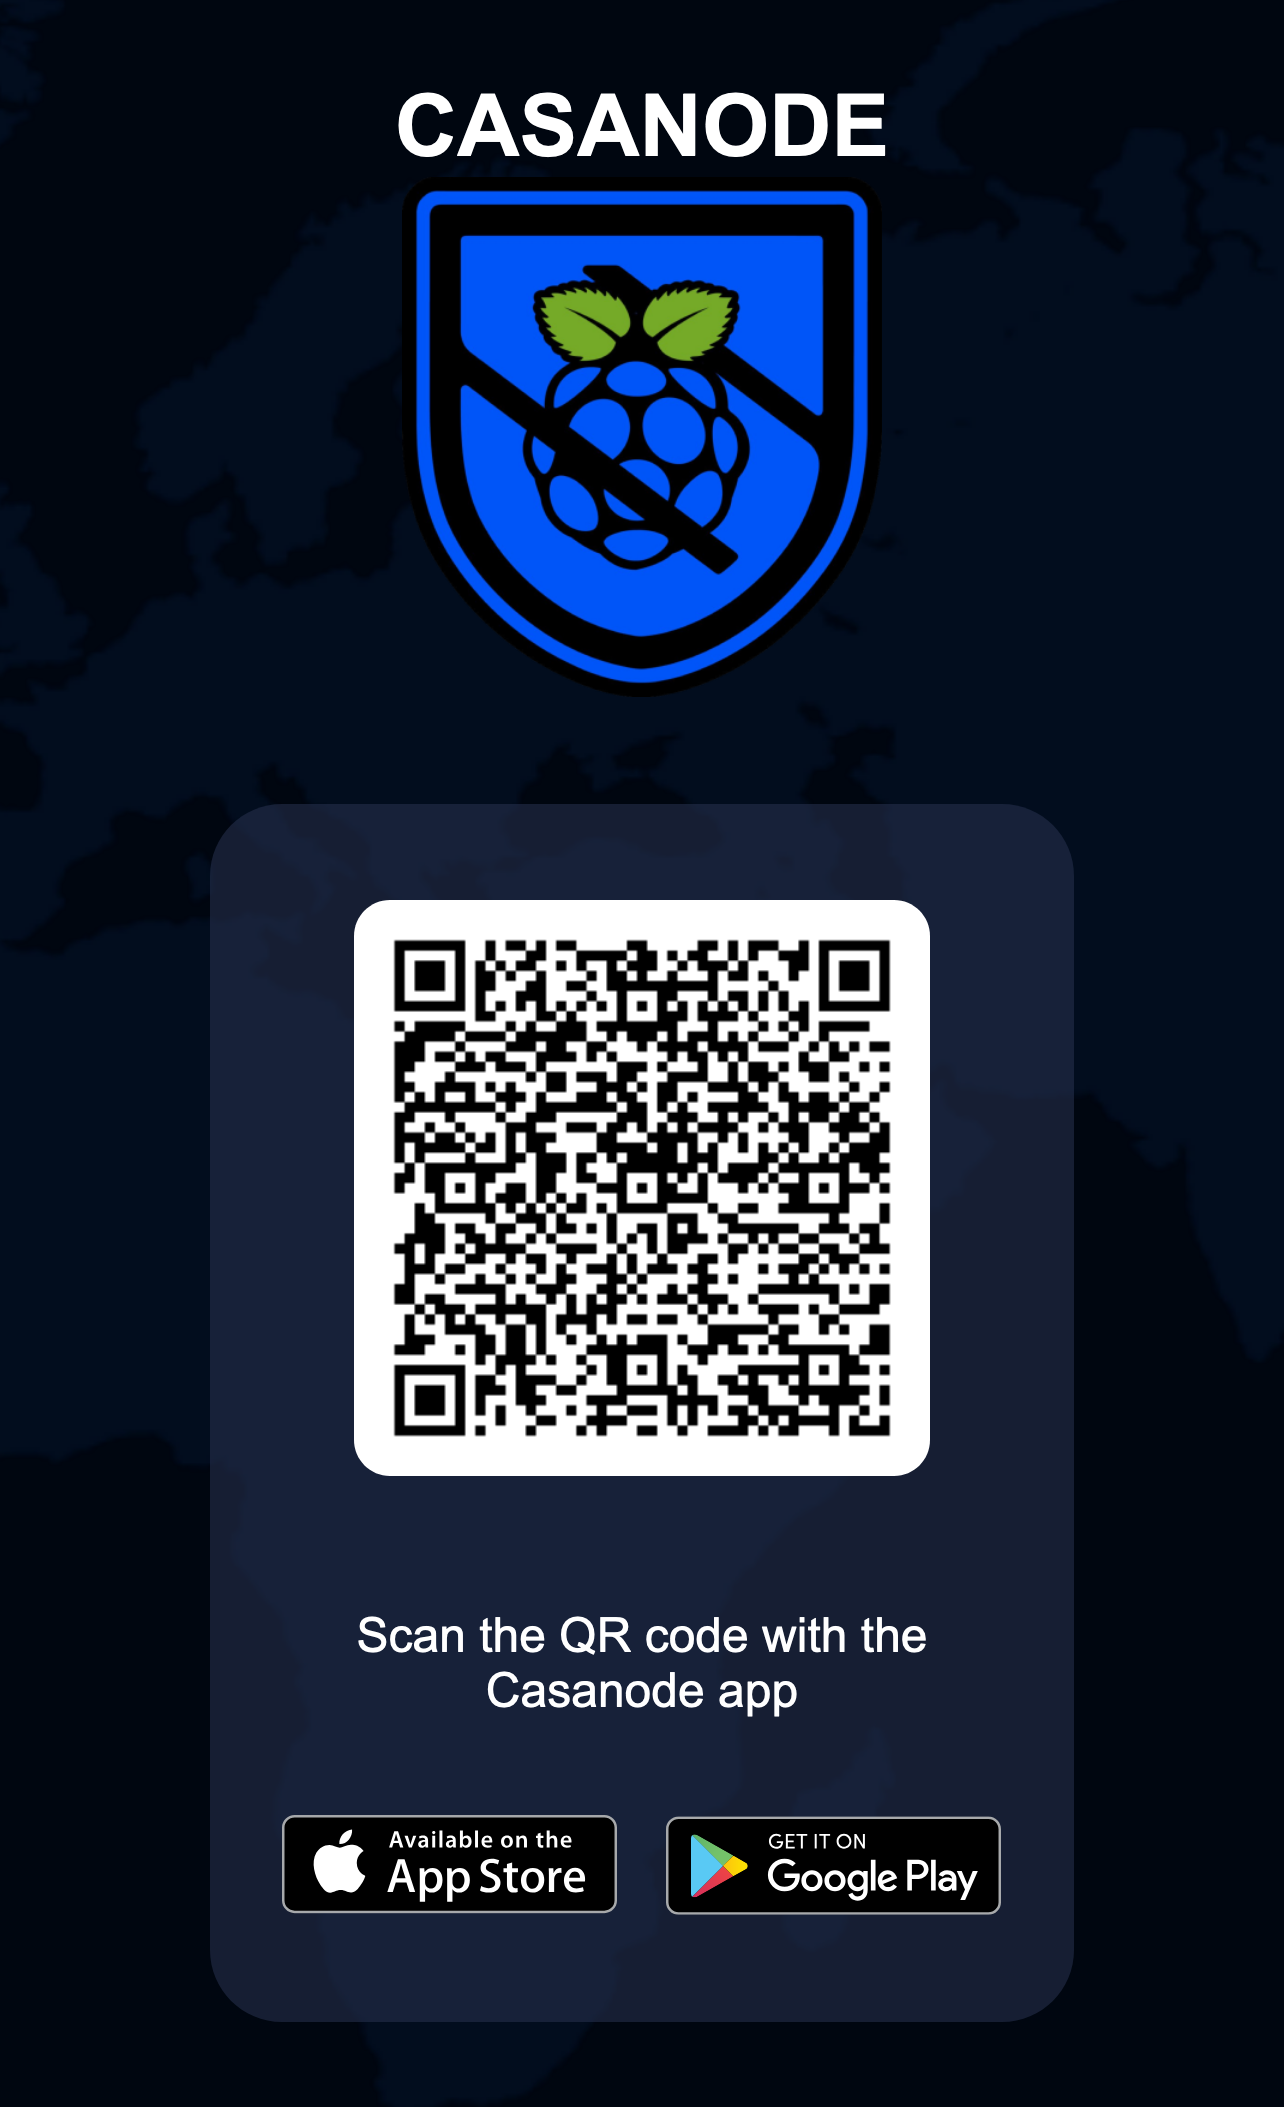
All that's left to do now in order to launch the dVPN Node installation procedure is scan the code as indicated in the mobile application.
Part III: Optional Steps
The additional instructions given below are entirely optional. We are sharing them for the benefit of technically advanced testers who may wish to take a more hands-on approach to their software.
Generating an OS Image
To compile the OS from source, the host operating system must be based on Debian or Ubuntu, and Docker must be installed.
1.) Dependencies - To begin with, we need to install the required dependency packages:
sudo apt-get install coreutils quilt parted qemu-user-static debootstrap zerofree zip \\
dosfstools libarchive-tools libcap2-bin grep rsync xz-utils file git curl bc \\
gpg pigz xxd arch-test
2.) Clone - Now that we have installed the packages needed for compilation, we need to clone the GitHub repository:
git clone <https://github.com/sentinelgrowthdao/casanode-os.git>
3.) Build - Once the files have been retrieved, we can launch with the following command:
cd casanode-os
bash build.sh --compression=zip
Compiling the Mobile Application
If you don't want to install the proposed APK, you can compile the application from source and install it on an Android phone.
Before beginning, ensure that your device meets the following prerequisites:
- A node version greater than (or equal to) 20.
- The latest Android Studio version installed (current version: Koala 2024.1.1)
- Have installed the latest version of Ionic:
npm install -g @ionic/cli
We'll start by retrieving the application's source code:
git clone <https://github.com/sentinelgrowthdao/casanode-mobile-app.git>
Once the files have been copied, we can install the dependencies:
cd casanode-mobile-app/app
npm i
Generate the build information file for the application using the following command:
npm run prebuild
Sync the web assets to the native Android project:
ionic capacitor copy android
Open the project in Android Studio:
ionic capacitor open android
Bug Reporting
As the project is still under development, you will inevitably encounter problems when using it. To connect with the Casanode team about an issue, use GitHub or the Telegram group linked at the beginning of the article.
We have provided some additional information below to help you when you encounter a problem.
Configuration Files
Several configuration files are available:
/etc/casanode.conf- The Bluetooth service configuration file./opt/casanode/.sentinelnode/config.toml- Configuration file for the Sentinel Node./opt/casanode/.sentinelnode/wireguard.toml- Wireguard VPN configuration file./opt/casanode/.sentinelnode/v2ray.toml- V2Ray VPN configuration file.
SSH Connection
To help solve a problem, you can attach a certain amount of information to your report, which can be collected via the SSH connection.
When installing the SD card, we configured the user name as raspberry, so the SSH connection command will be:
ssh raspberry@<ip-address>
Once you've logged in, you'll need to be root to access Casanode files:
sudo su
Now that you're connected to the node as SSH and root, you can run several commands to obtain information.
Log Files
The various Casanode log files are stored in the /var/log/casanode/ folder, with a logrotate system for compressing and archiving older files.
The log files present are:
startup.log: containing information written by the startup script, which finalizes OS installation on first boot.app-ble.log: containing information written by the application controlling the dVPN node via Bluetooth.
Sentinel Node Logs
To access the logs of the Sentinel Node, enter the following docker command:
docker logs sentinel-dvpn-node
Join Our Journey
At dVPN.news, every member of the Sentinel community is a contributor. Whether you're writing articles, sharing tutorials, or participating in discussions, your involvement is what drives our collective growth, and best of all it's rewarded! Together, so if you to contribute to the growth of the Sentinel Network, you are in the right place!
Connect with Us
Stay in touch and be part of our growing community:
- Follow Sentinel on X
- Follow the Growth DAO on X
- Join the Growth DAO community Telegram Group.
- Join the official Sentinel Subreddit, r/dVPN.